- Home
- About Me
- Buy My Music
- Composer's Secret Weapon
- Links
- Contact
-
Blog
-
Articles
- Everything In Its Right Place
- a tempo vs. Tempo I
- Placing Fermatas over Whole Rests
- Introduction to Linked Parts
- Transpose Percussion Notes
- Learn As Much As You Can...
- A Place for Everything, and Everything In Its Place
- Combined Staff in Score --> Separate Parts
- Tritone and P4ths
- Large and In Charge
- JW Copy Part Layout
-
Articles
|
There are several ways to use Finale to supplement your teaching and create customized materials and resources to help you teach the crap out of your students. You can use any of the hundreds of built-in worksheets either as they are or customize them to suit your needs, you can use Finale to create your own exercises/worksheets, and you can create an example in Finale, export it as a graphic and insert it into a word processor.
1. Use Finale's built-in worksheets and puzzles
(paraphrased from the user manual)
Finale includes hundreds of music education worksheets. Designed for K-12 students of general music, theory, band, orchestra, and choir, these worksheets (and puzzles) help teach basic elements of music. Covered topics include counting, scales, chords, music vocabulary, and more. Because they're provided as Finale files it's easy to edit them to your specific needs. Used in conjunction with Finale’s powerful Exercise Wizard, these worksheets provide educators with instant access to thousands of pages of printable AND editable materials for their students. To easily access all of Finale's worksheets, choose File > Open Worksheets & Repertoire. Finale's worksheets are available in the Mac HD/Library/Application Support/MakeMusic/Finale/Music Files/Worksheets and Repertoire/Worksheets folder.
For more detailed information about the worksheets, click HERE
2. Use Finale to create your own worksheets and assignments.
When I was a teacher, this was my favorite way of using Finale to create the ultimate pedagogical resources (next to creating my own warm-up packets, of course).
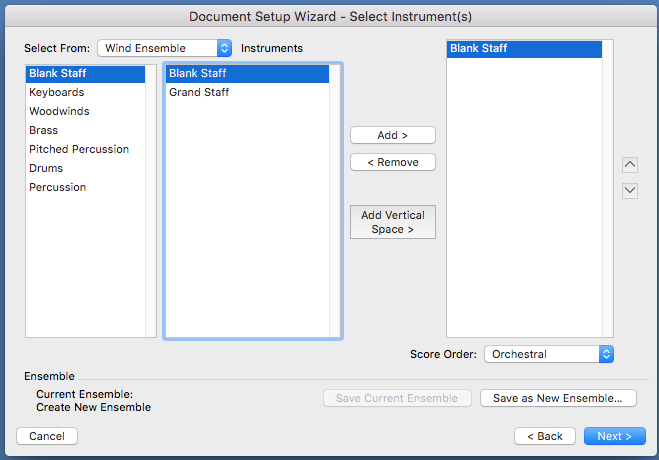
There are so many different options depending on exactly what you want to do, so I'll just walk you through the creation of one that I'll make up right now. I will make it varied enough that it will contain several different ideas and possible solutions to problems that you are welcome to steal, tweak and modify however you need. Using the Document Setup Wizard, create a document containing only one staff, and use the Blank Staff option when you choose the instrument.
Give it a title (I called mine Basic Music Quiz) and you can enter your school's name or initials in the composer section if you want. Kids like that.
First thing I want to do is hide the measure numbers. We don't need them for this and their presence will just be confusing. Using the Measure Tool, go to Edit Measure Number Regions and uncheck everything , as shown in the picture below.
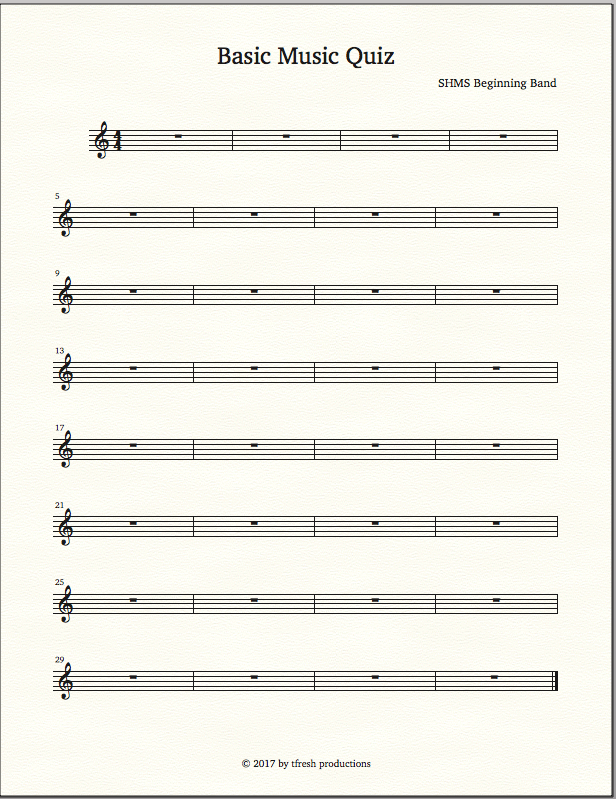
Next thing we'll do is remove those automatic whole rests in the empty measures. This will give the students space to fill in whatever we need them to complete.
Go to Plug-Ins > Scoring and Arranging > Global Staff Attributes and uncheck "Display Rests in Empty Measures." While you're there, also uncheck "Time Signatures in Score."
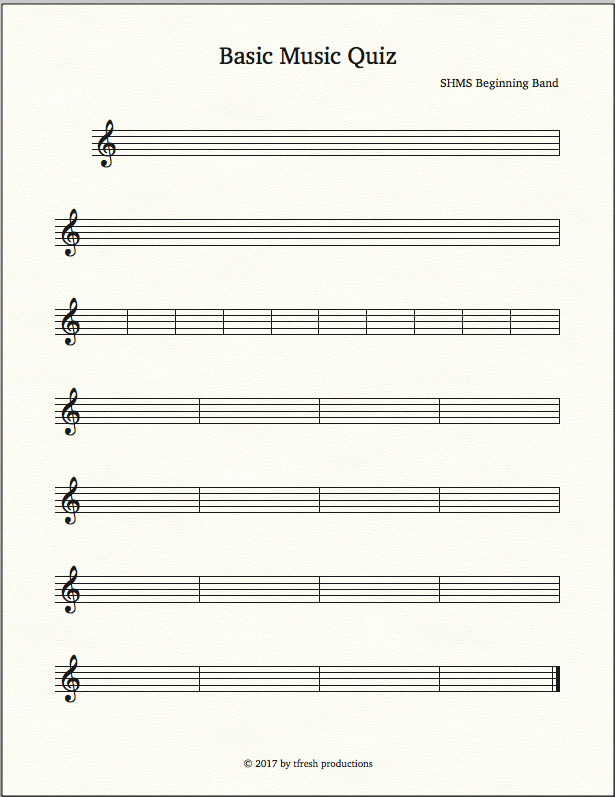
And now your worksheet looks like this...
I like how this is looking, but the staff seems a bit too small, doesn't it? It will be hard for the students to draw/write in that small of a space. So let's fix that. Using the RESIZE TOOL, right-click on the 1st measure and select "Resize System" and set the staff height to .9cm, as shown in the pic. below.
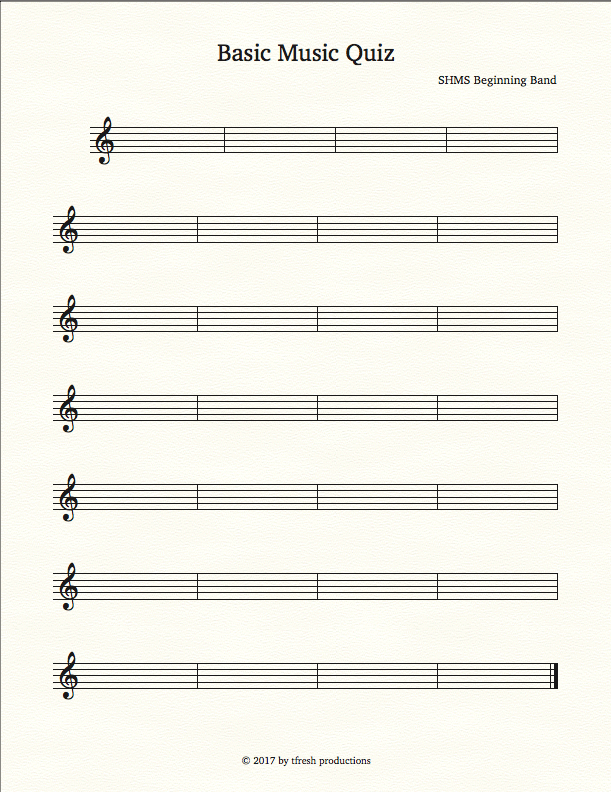
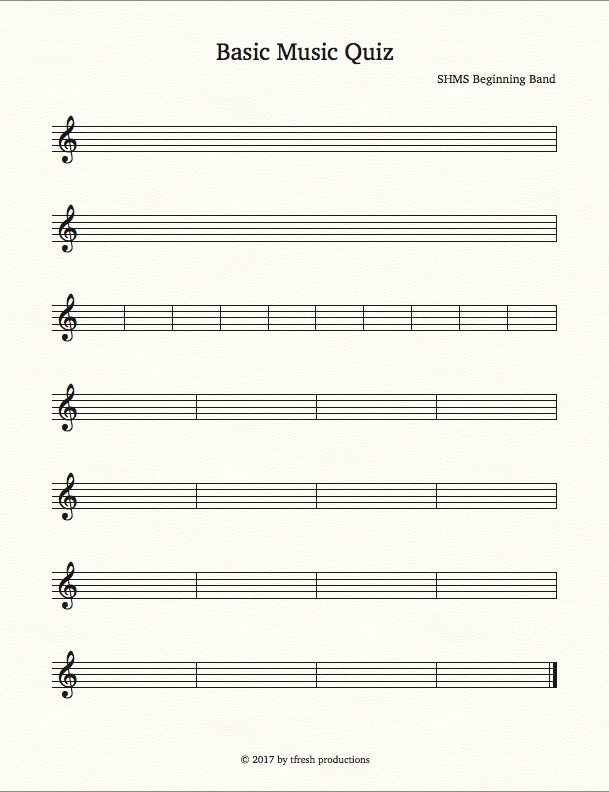
Now your page looks like this. Much better.
Use the Selection Tool to move measures around so the first two lines
each contain only measure each.
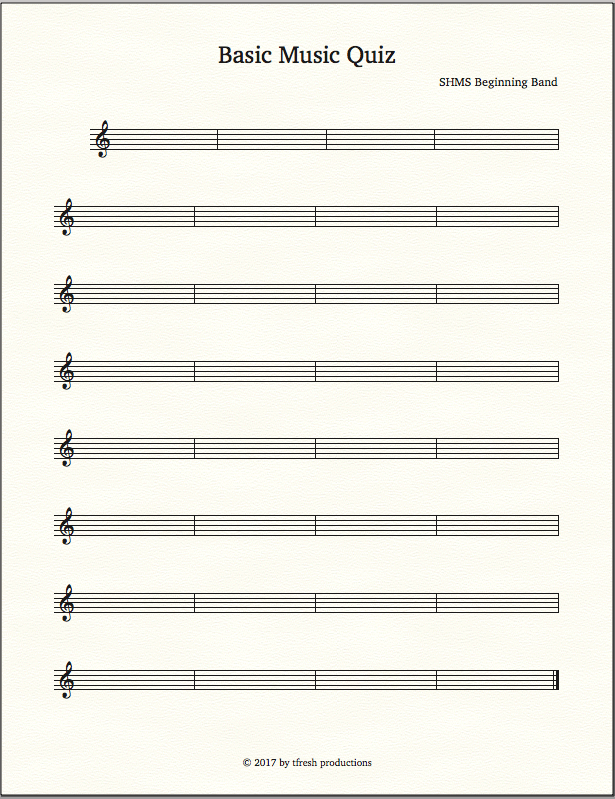
You know what? We forgot to remove the indentation of the first stave. We should do that now before we forget. Go to Document > Page Format > Score and set the "First Staff System Margins" to Left=0.
Okay....now we're ready.
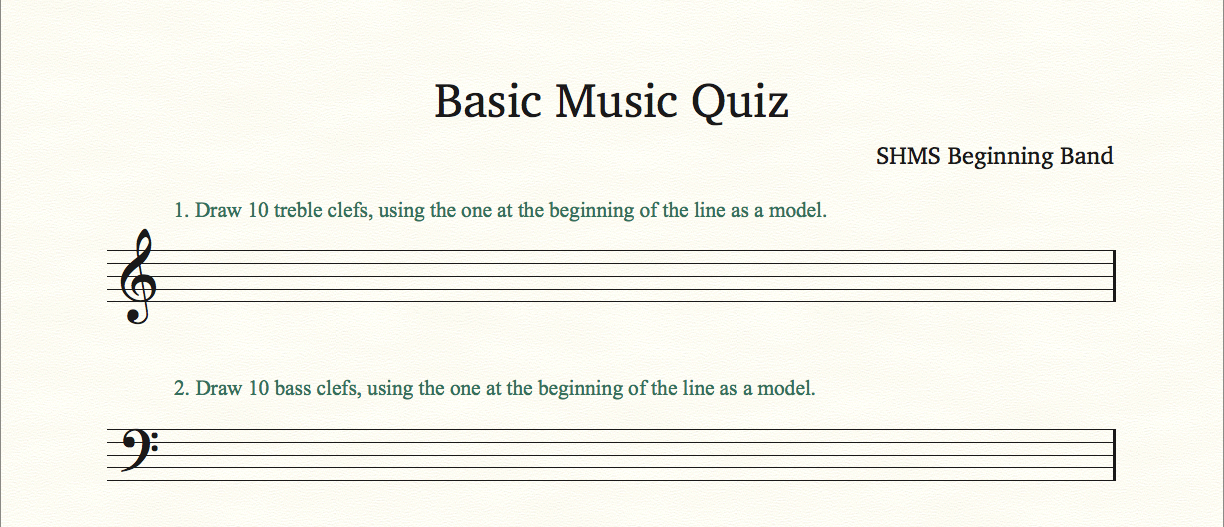
Use the Expression Tool (NOT the Text Tool) to create an expression containing the instructions for Exercise 1. I like to use the Tempo Marks category, as it will automatically be placed where I want it. Repeat the same process for Exercise 2.
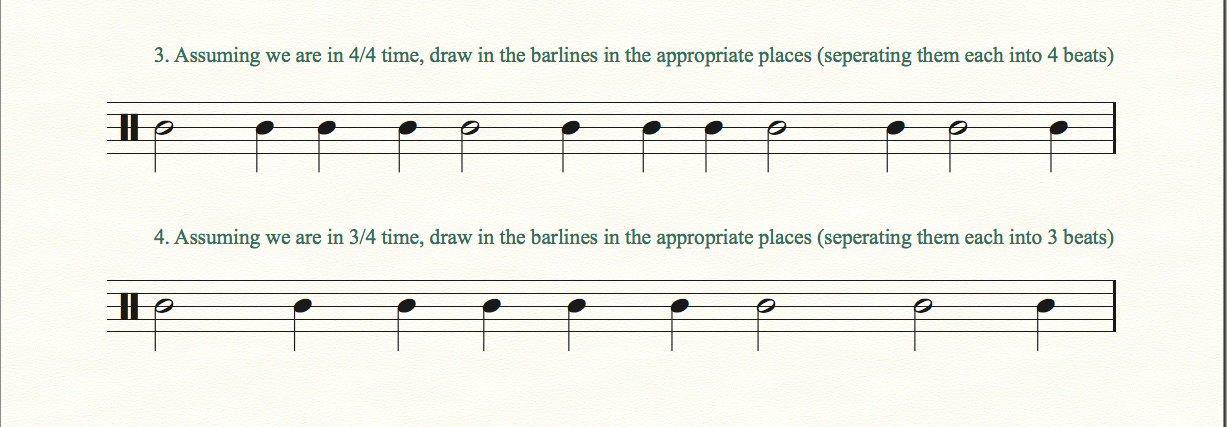
For Exercises #3 and #4, each line has 4 measures,
but I have changed the barlines to be invisible.
You can go on and on, creating any exercise or quiz you can imagine. Whatever you need. You are no longer limited to how the method book wants to present information or test for comprehension.
3. Inserting excerpts of music into text documents.
In a more advanced class setting, you may wish to insert a short musical example into the text. It works exactly the same way as inserting any other graphic into a text document.
The quickest and easiest way is to simply take a screen shot of the measure you want to include, which will save as a PNG image (or whatever you have your screenshots set to save as). But wait...you don't want the different colors, right (the green expressions and the red crescendos) so instead of taking a screen shot of the example in Finale, I use the "View as PDF" or "Open PDF in Preview" function from the Print Menu, then take a screen shot of that. Then, insert it into your text document by simply dragging it into the new file, then position it as you wish. (This is EXACTLY the same process I've been using to make this post, BTWs).
You'll notice, however, that using screenshots like this doesn't provide the highest resolution. It usually works fine, but if you need higher resolution images, use the GRAPHICS TOOL and Export Pages from the Graphics Menu to export your music as a higher quality image. Then you'll need to use imaging software (I recommend Pixelmator) to crop and resize your image while maintaining the high quality resolution you may need.
I hope that's enough to keep you busy for a while. This, of course, is not an exhaustive list of everything possible, but was just meant as a little introduction to the possibilities. I hope you are able to take at least one thing away from this and that it wasn't a complete waste of your time.
If you like this and are interested in very occasionally hearing more about what we're up to, please sign up for our mailing list. There's no junk whatsoever....only good content served hot and fresh about once every 4-6 weeks. Letting you know what's new, what we're working on, what new resources we've made available, or what new pieces we've added to our catalog.
1 Comment
|
Archives
April 2018
Categories
All
|

 RSS Feed